Skip to content
For guests
For restaurants
Hai
La
Search
Bookings
Favorites
RO
RU
EN
IT
FR
DE
ES
EN
Română
RO
Русский
RU
English
EN
Italiano
IT
Français
FR
Deutsch
DE
Español
ES
Sign in
Chișinău
Oyster's Lab
Photos
Oyster's Lab
Photos
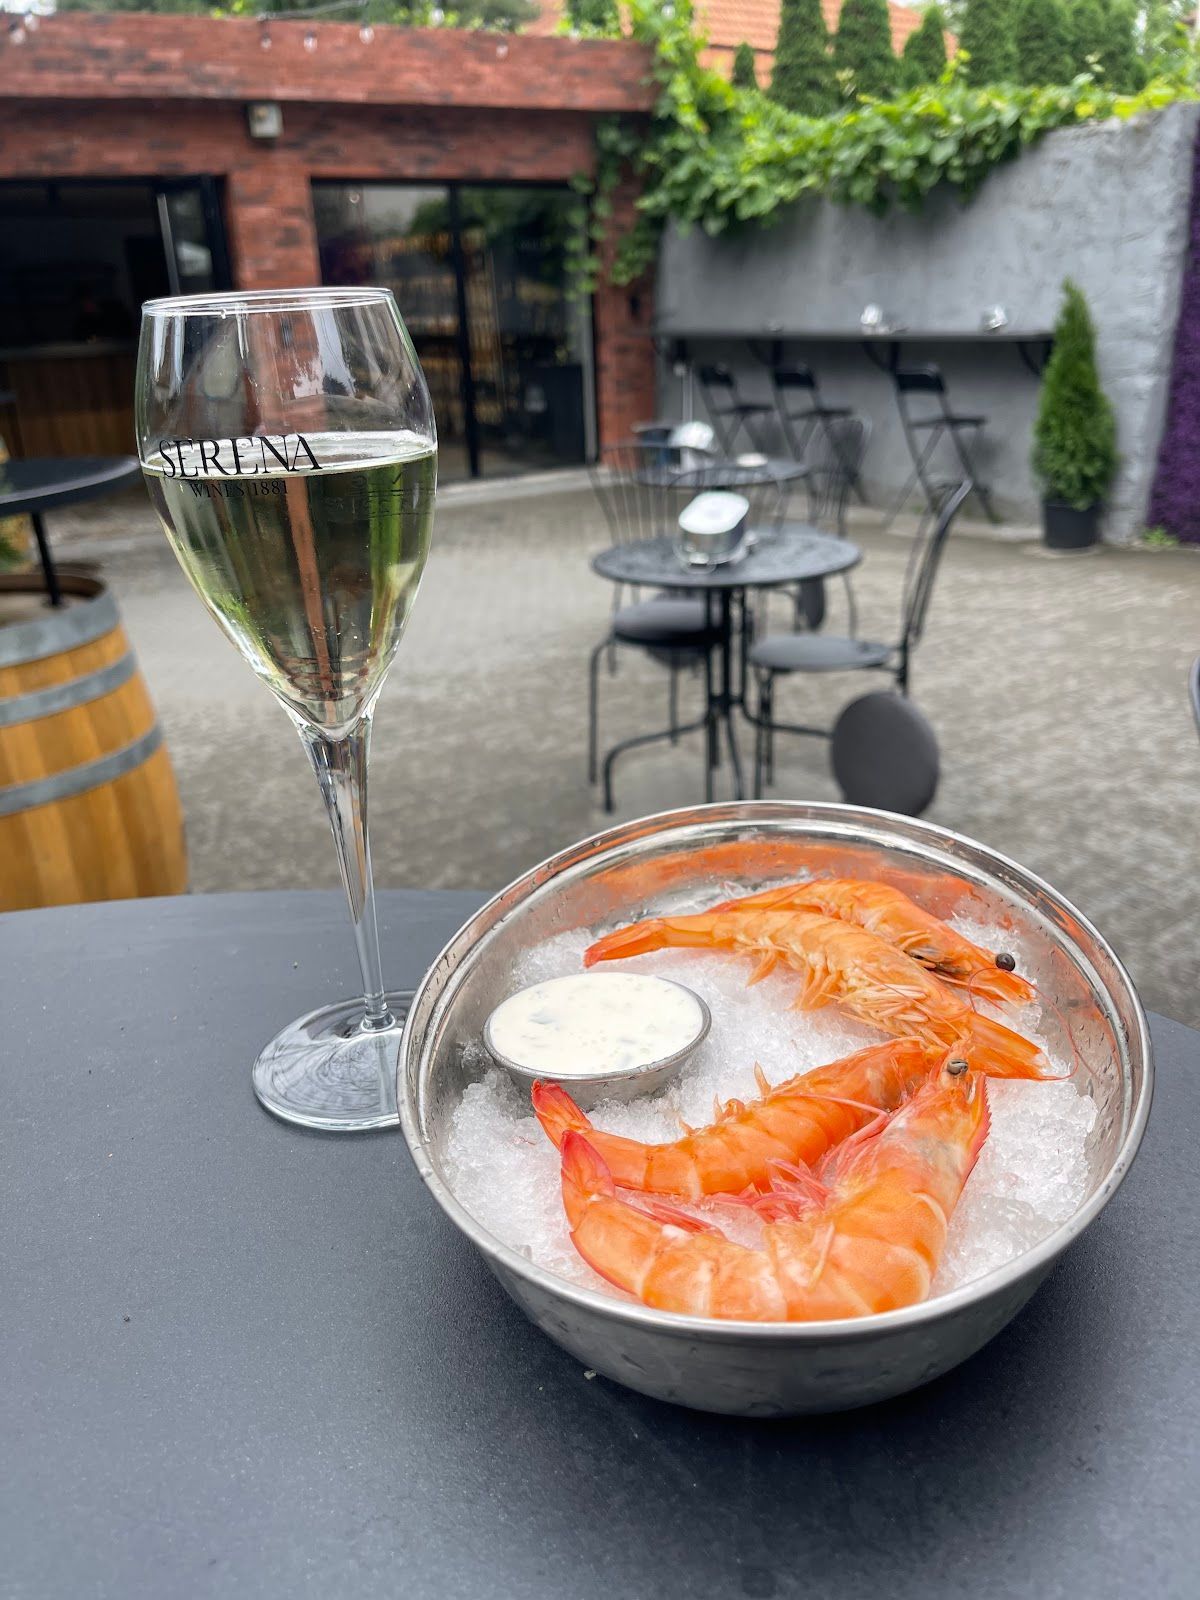
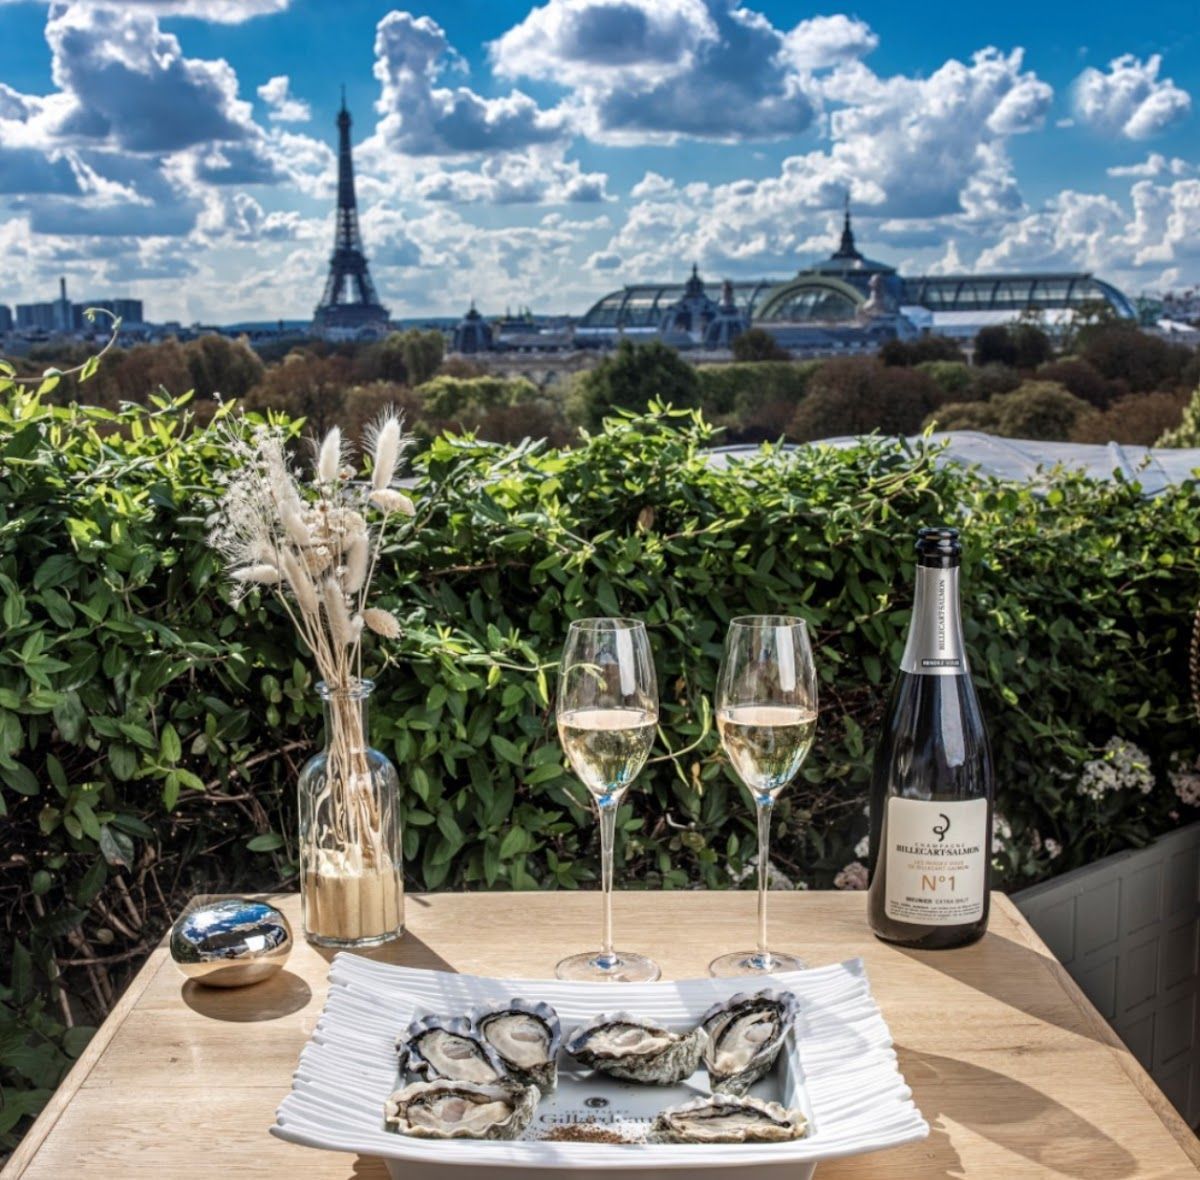
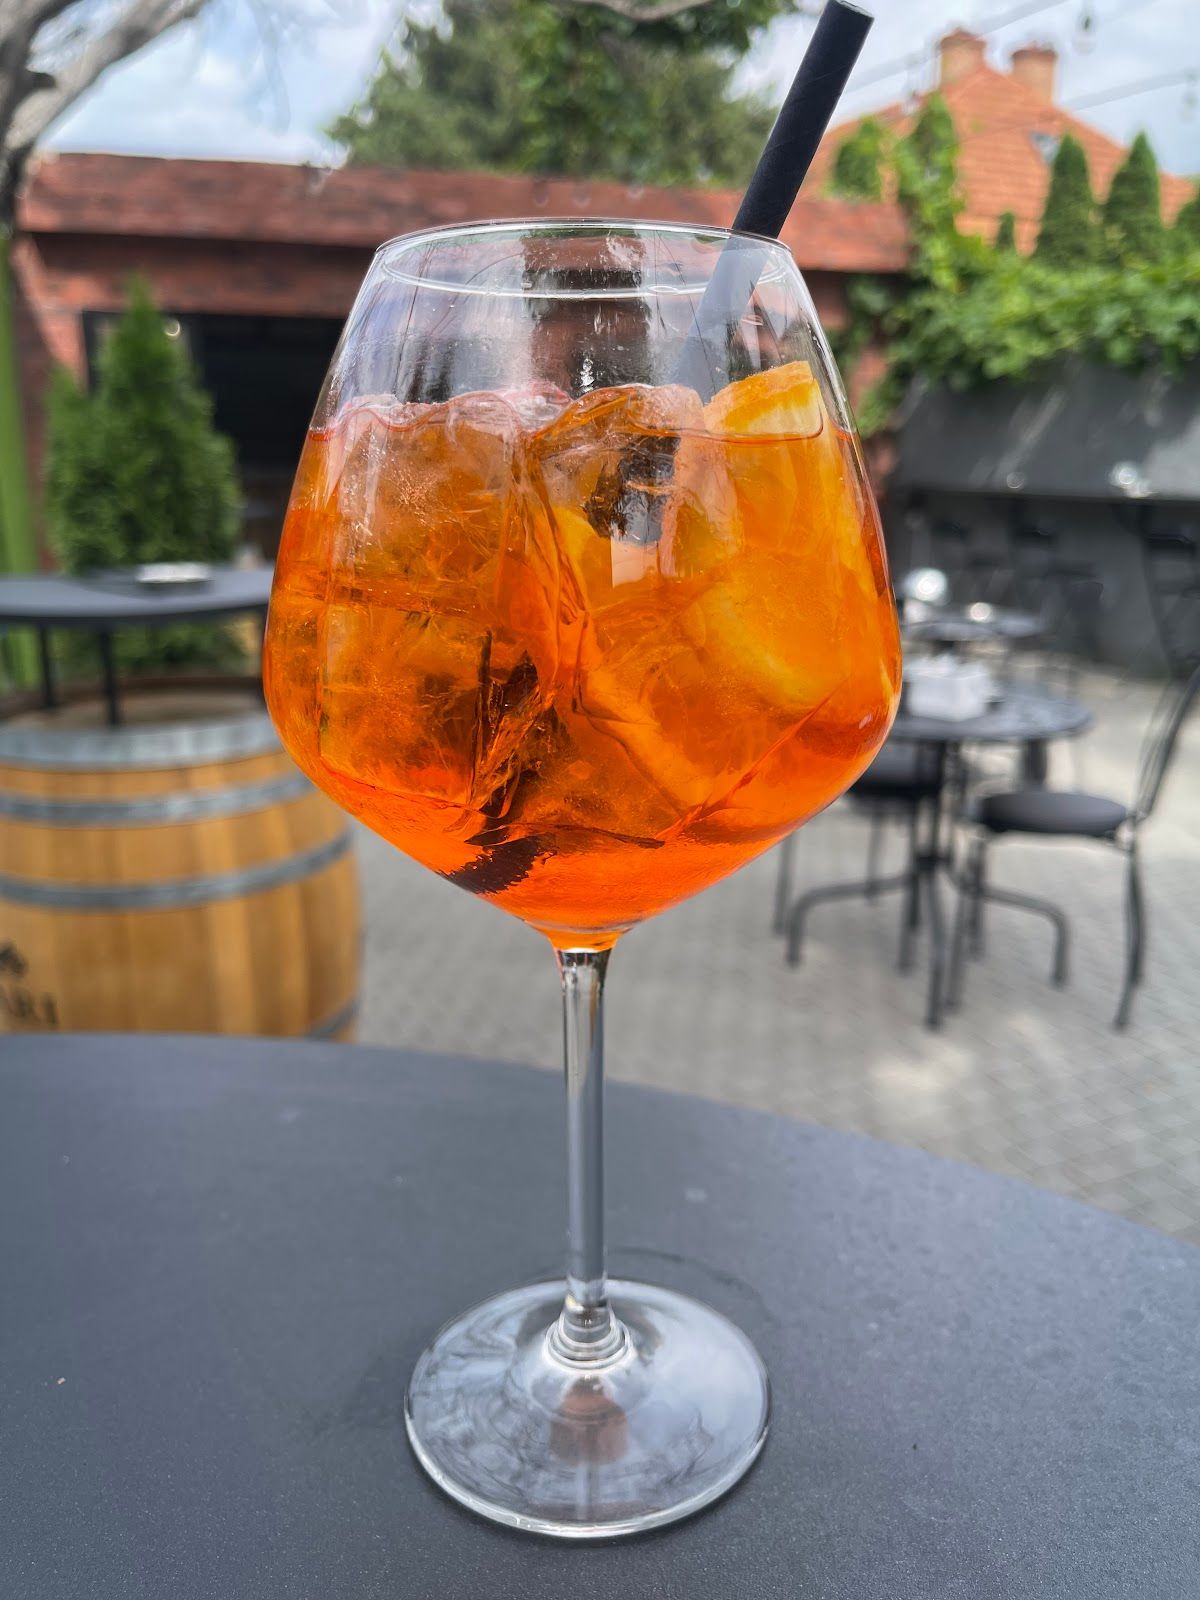
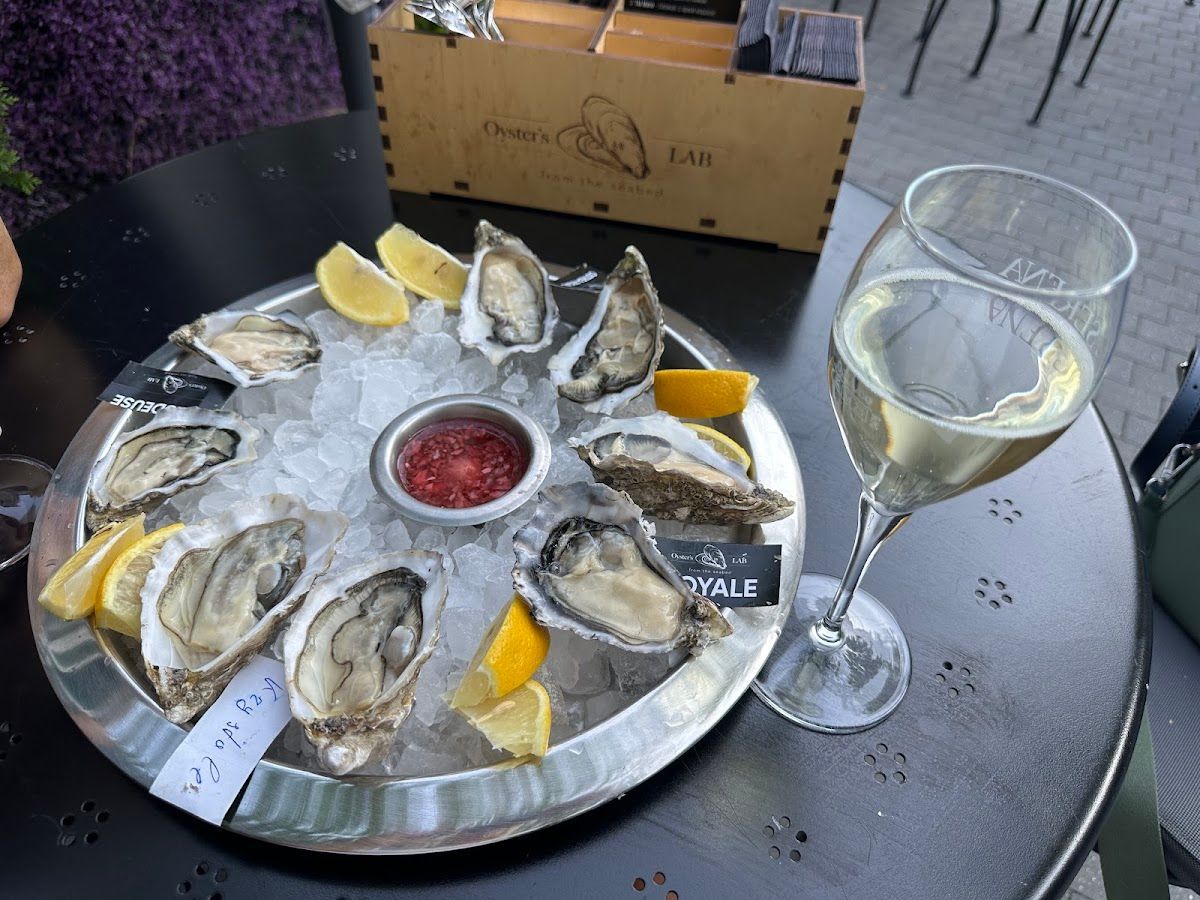
4 photos · From the restaurant
From the restaurant
Oyster's Lab
Back to the restaurant